TL;DR – here’s a video that explains briefly what cockpit is, and then goes though how it can be installed, and more importantly how 2FA can be enabled to make access more secure than the out-of-the-box default of username/password. I also go over where to find other plugin applications that can help make Cockpit even more useful. Enjoy!
[Update – video now in MP4 format – thanks to @[email protected] for pointing this out]
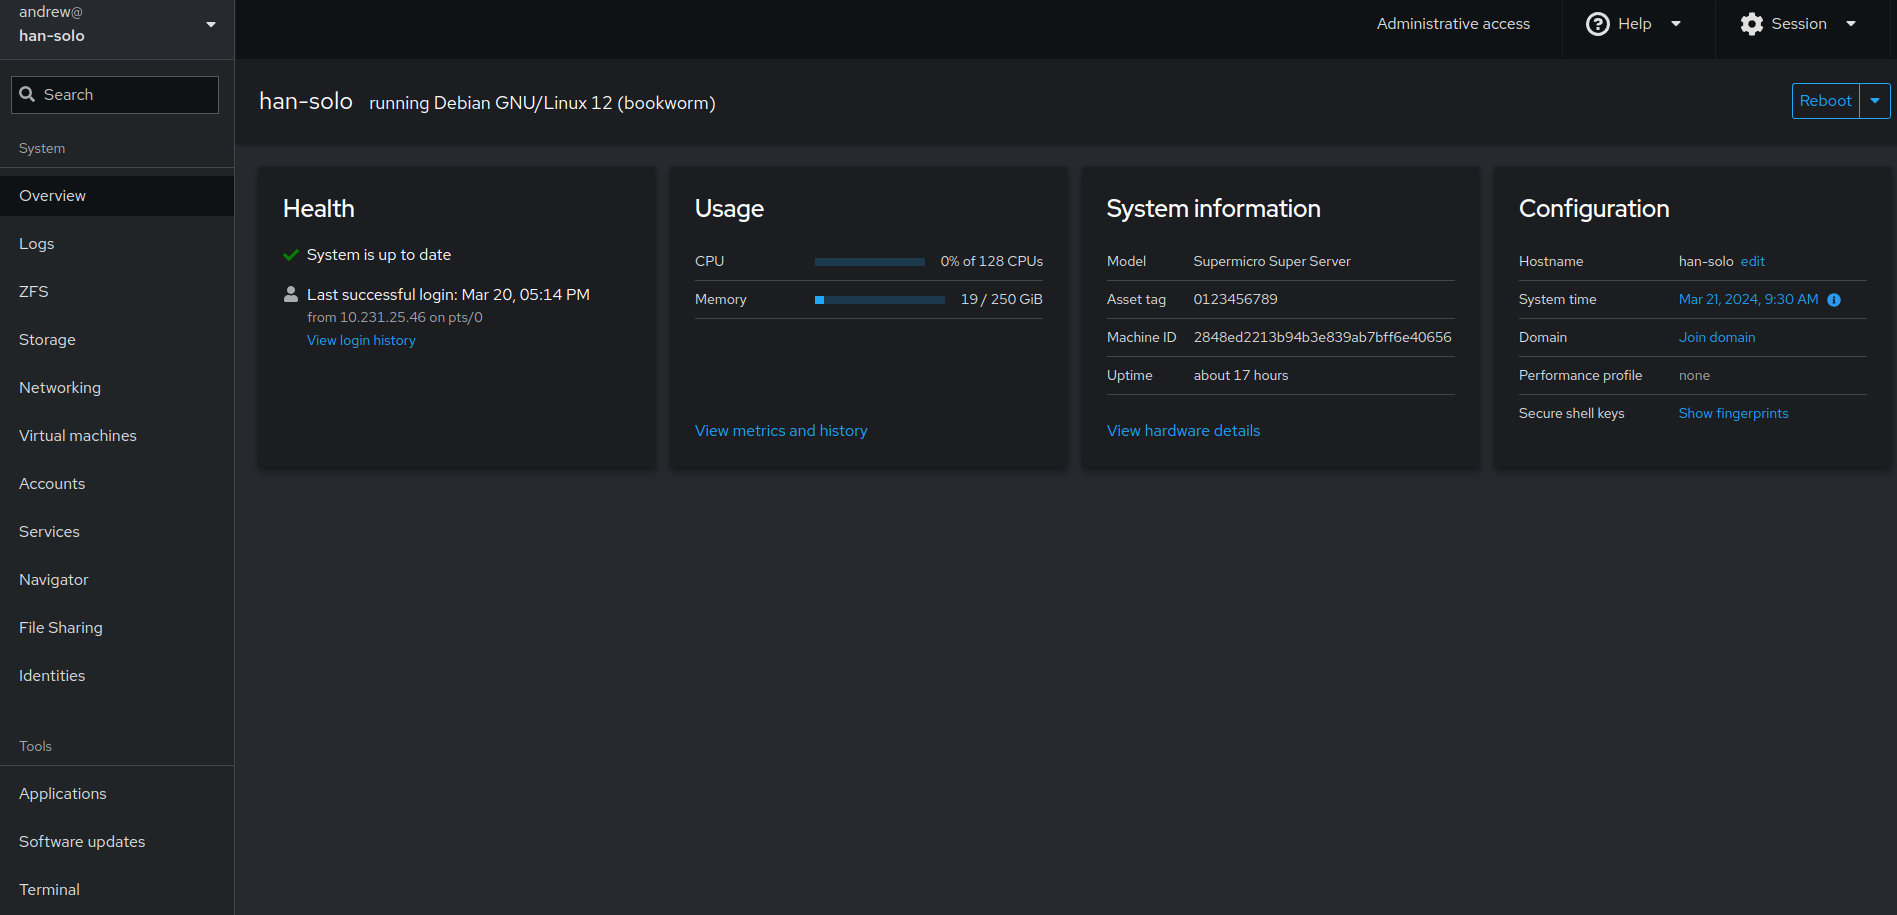
Cockpit is an open source project sponsored by Red Hat to provide a simple GUI management portal that aids linux server management. Installation is a breeze (‘sudo apt install cockpit && sudo systemctl enable –now cockpit). This gets you a portal that can be accessed simply by navigating your browser to https://server-ip:9090. You login with your linux credentials and basically you get an interface you can use for managing and inspecting some basic services. Here’s the overview screen for one of my actual linux servers:
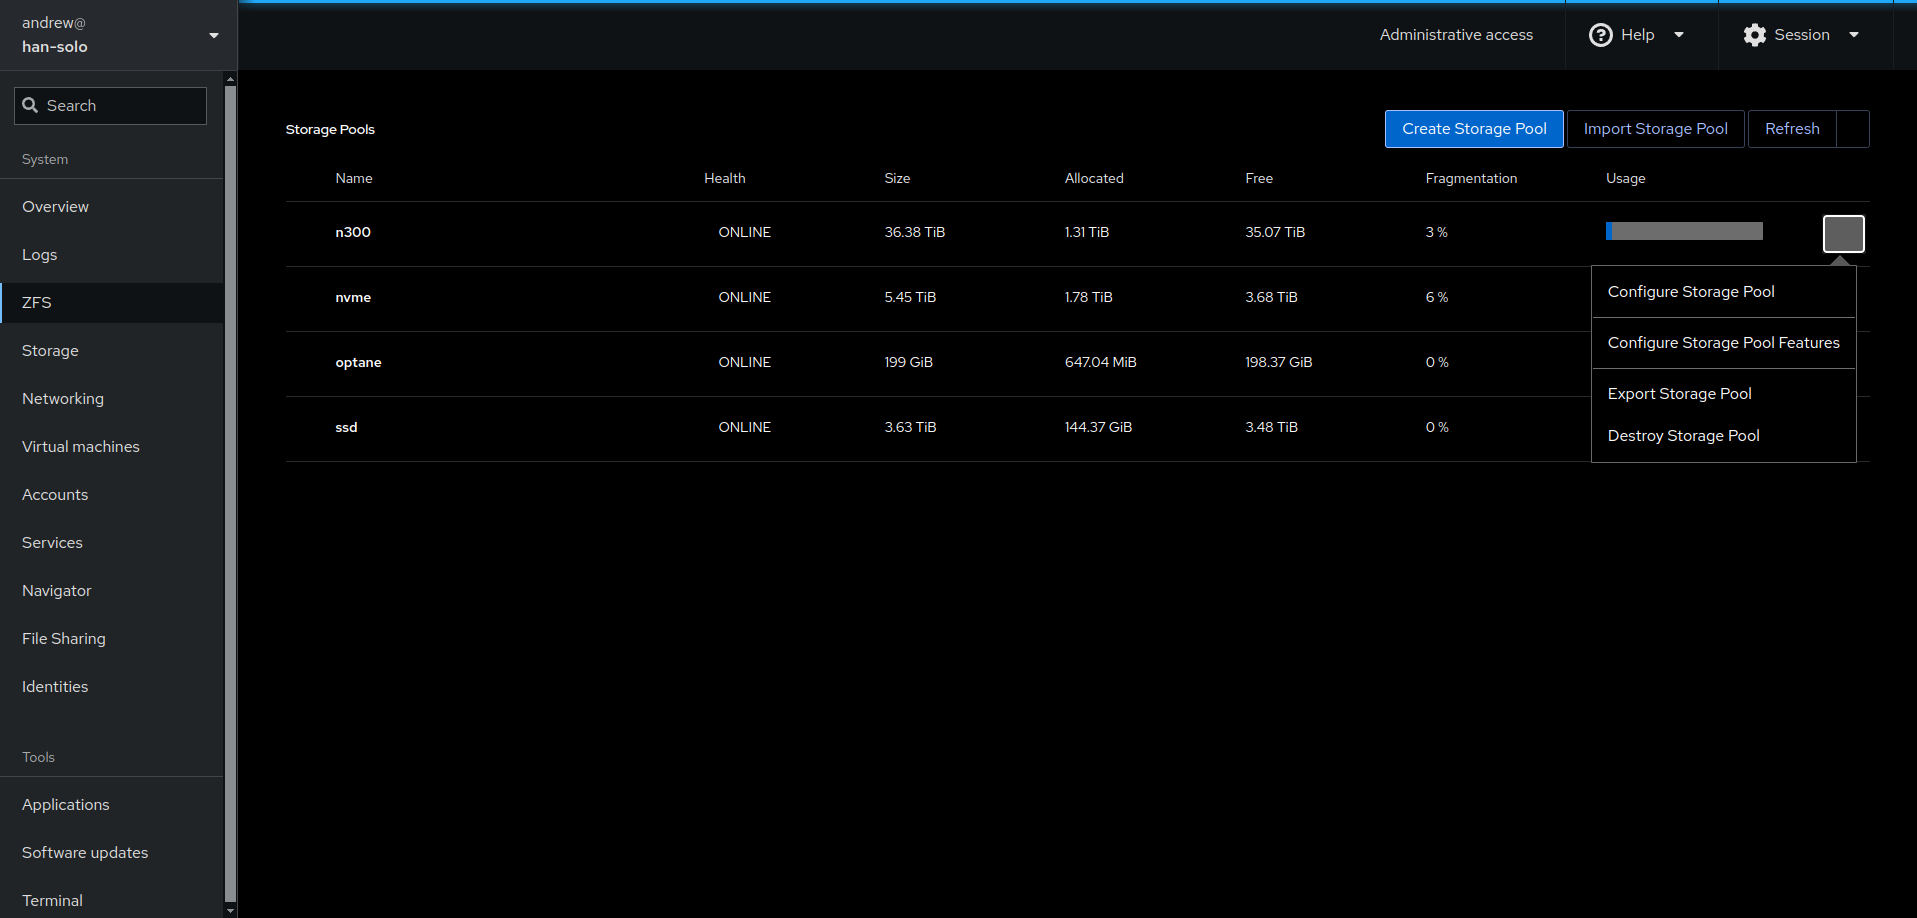
Cockpit comes pre-installed with several plugin ‘apps’ that expand and shape the functionality of the portal. You can add more plugins to make it even more useful (see my video) – e.g. for zfs service management:
You can even create virtual machines in cockpit that can be further viewed and configured with virt-manager. I showcase this in my video as I use cockpit on my real server to…create a virtual machine…in which I install and create a cockpit service and enable 2FA in the virtualized cockpit instance (!)
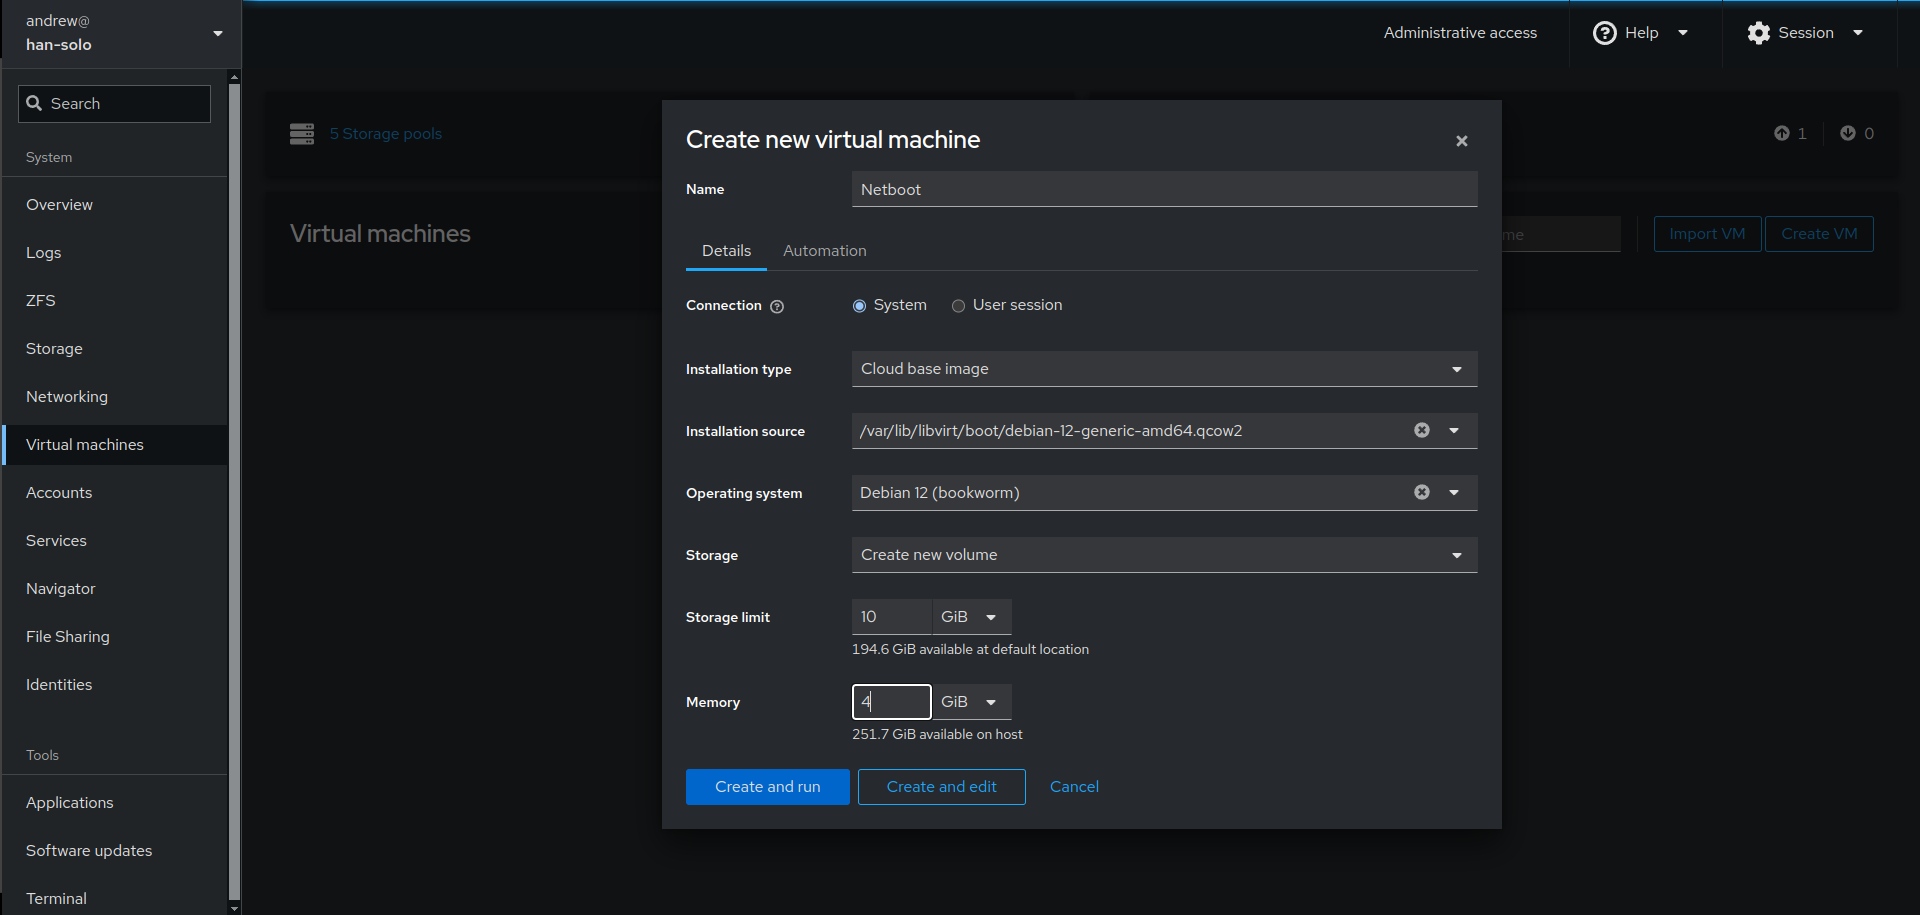
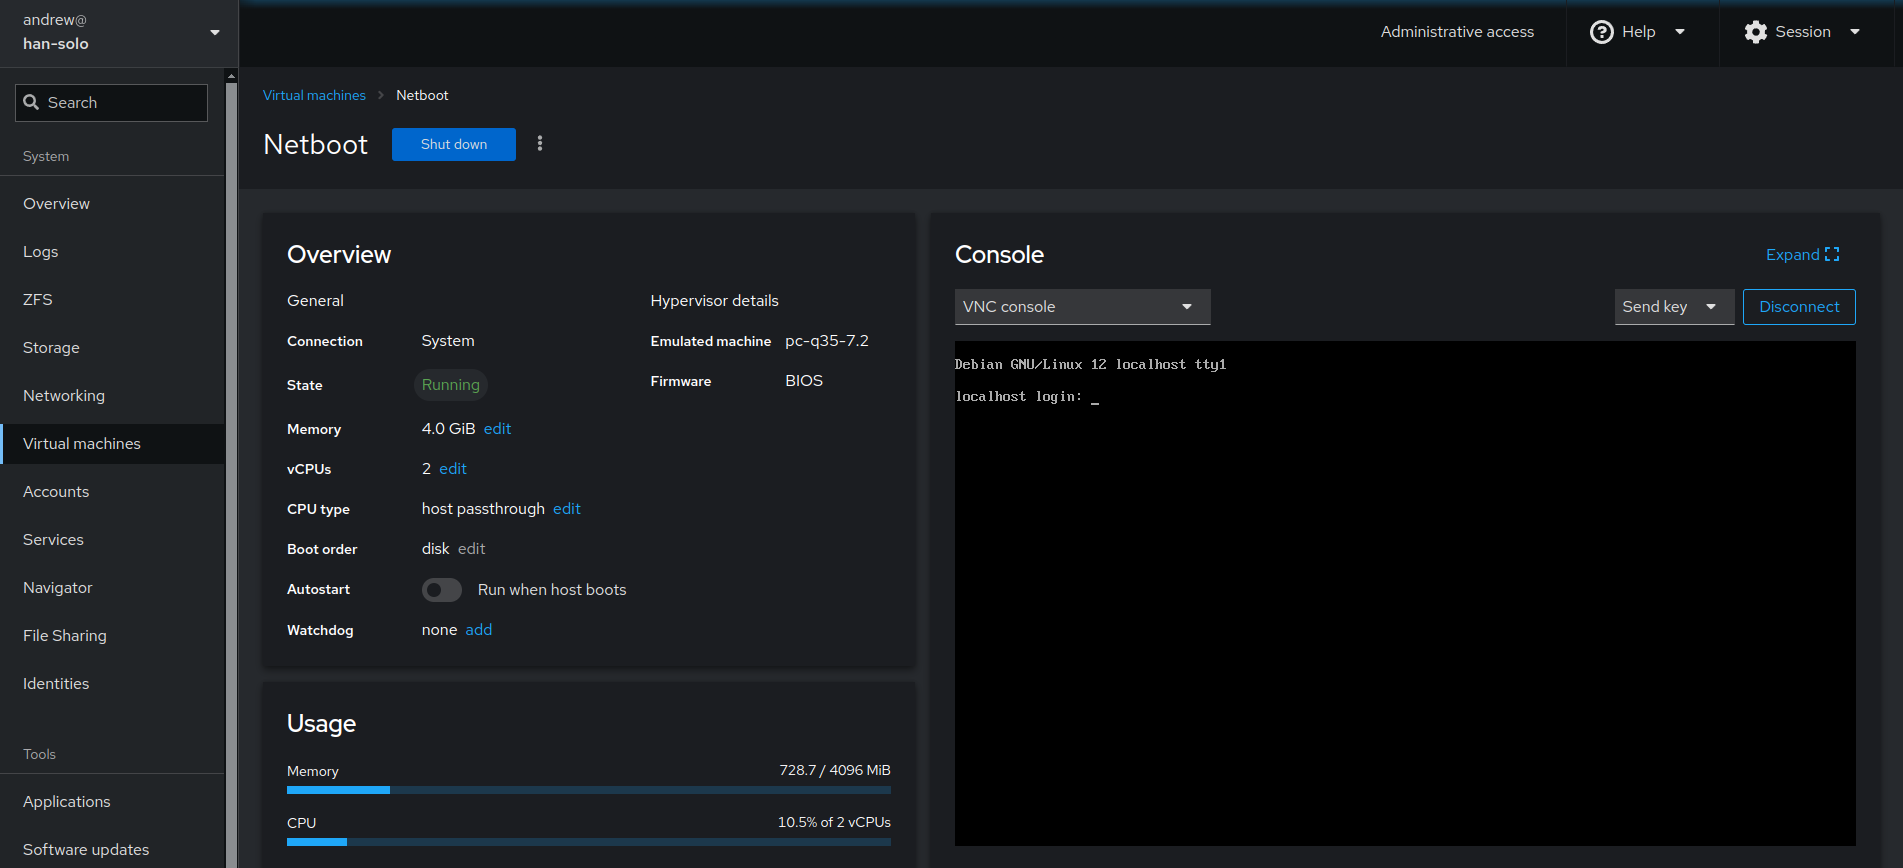
Whilst this is not as feature-rich as e.g. proxmox or xcp-ng, cockpit provides for a very capable and easy-to-use hypervisor in terms of the machines it creates.
There are lots of videos and tutorials about cockpit that can inform on its capabilities.
One concern I have about the basic installation for cockpit is that it gives you essentially the same access to a server as an ssh-connection without a public-private key: all it takes to login to a cockpit server is a username and a password. That’s too weak from a security perspective for server access IMHO. To fix that, we can add two-factor authentication (2FA) to the login, requiring the use of a 6-digit code in addition to the (potentially weak) user credentials. Here’s how you do that e.g. for a Debian/Ubuntu server (or you can watch my view above):
Login to your server, install cockpit and google’s authenticator app run the following command (as user, not root):
sudo apt update
sudo apt install cockpit -y
sudo apt install libpam-google-authenticator -y
google-authenticator
This updates your repositories, installs and enables cockpit, installs the authenticator app and runs it. After the installation, you will see an image similar to this as the 2FA app fires up:
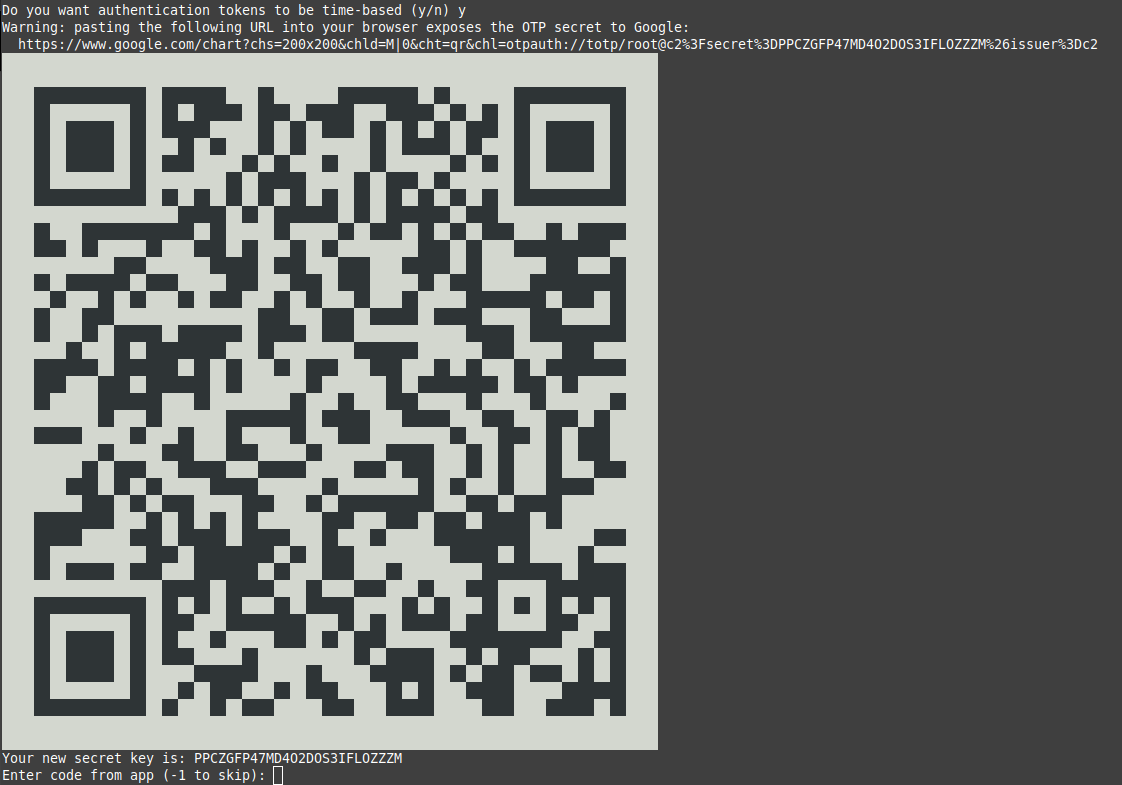
Scan the QR code with your 2FA app, enter the code at the prompt and answer the questions to complete the process (answering ‘y’ is most secure, but even answering ‘n’ makes for a very secure 2FA setup – google-search if you want to know more). Now we need to tell cockpit to use 2FA: Edit the following file as root with your favorite editor, e.g nano:
sudo nano /etc/pam.d/cockpitAdd one line at the bottom of the file thus:
auth required pam_google_authenticator.so nullokSave and quit, then issue the following:
sudo systemctl restart cockpitThen login to your cockpit server, enter your linux username, password:
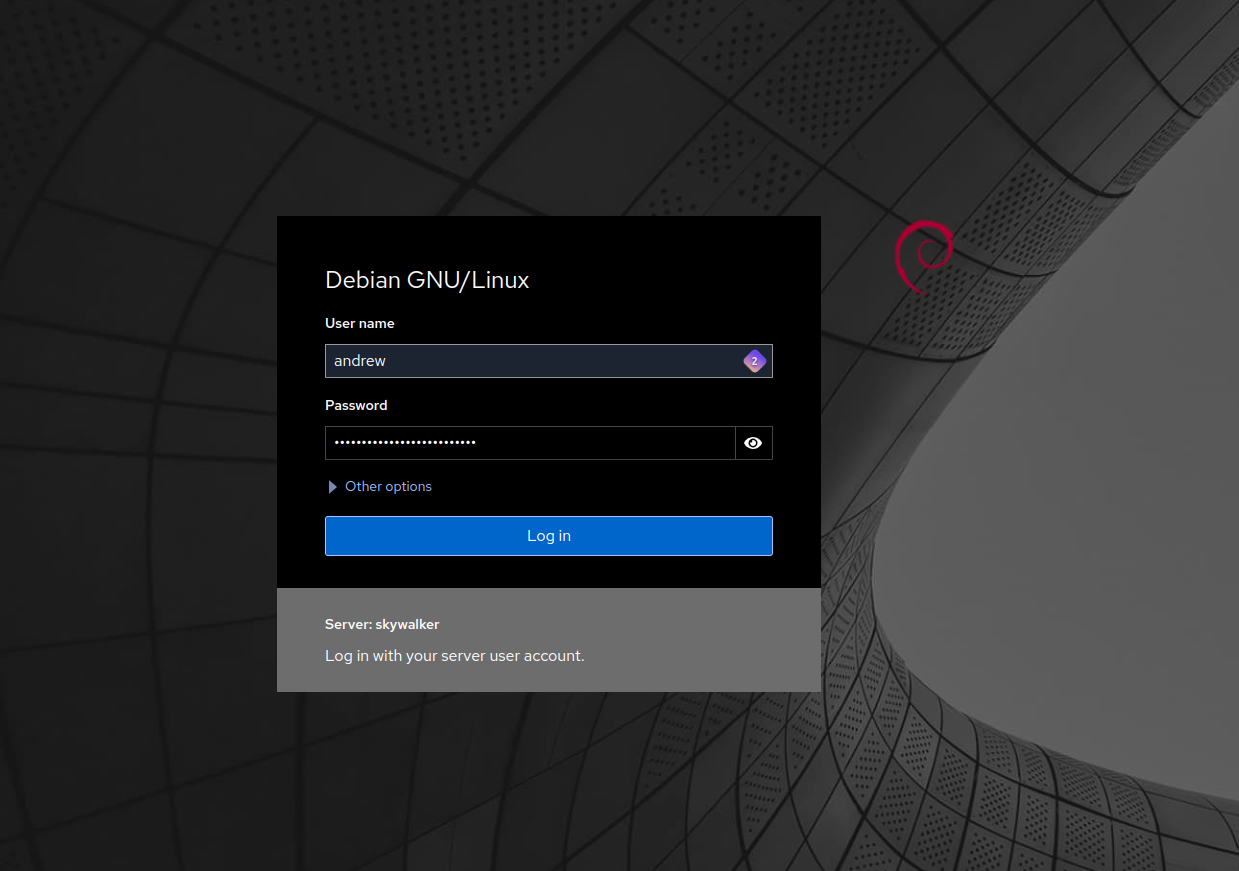
When you attempt to login, you get a separate chhalenge for your 2FA 6-digit credential:
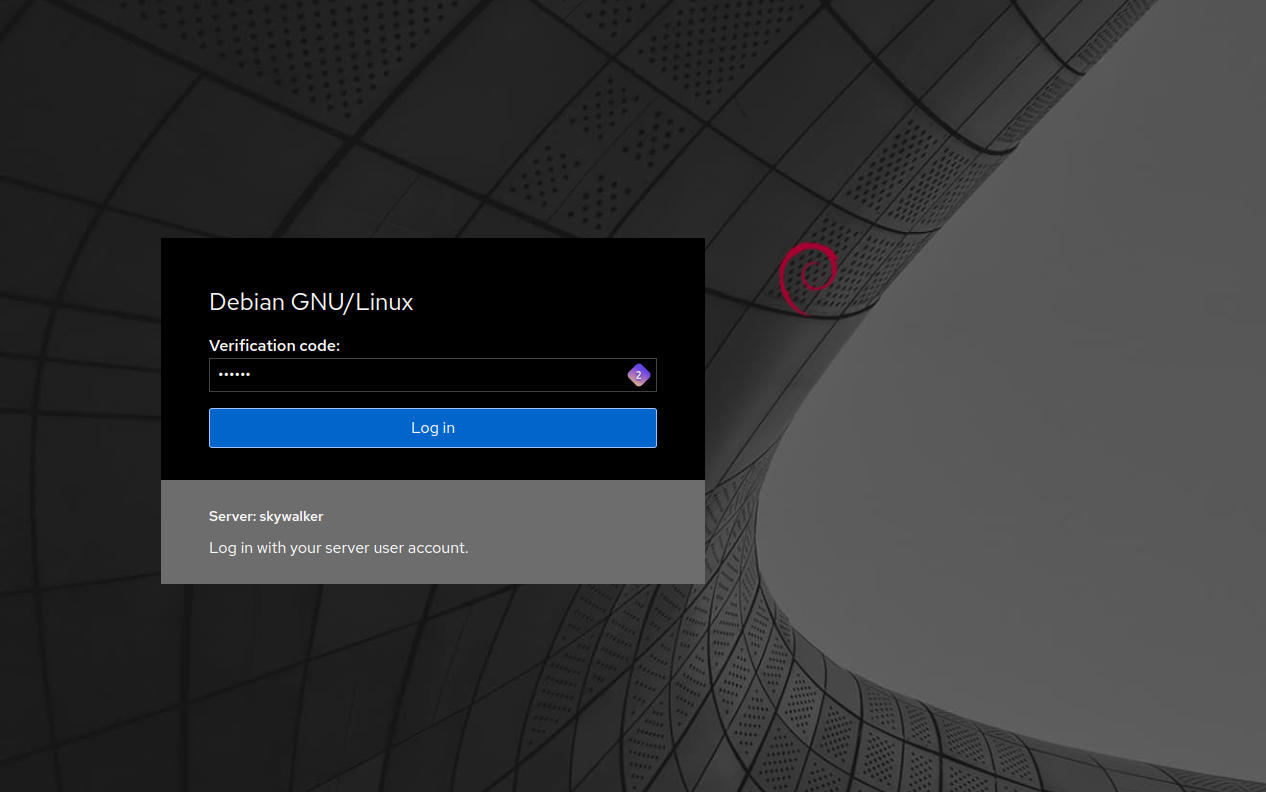
Use your phone app to get the current 2FA code (which changes every 30 seconds), enter it and you should be logged in, e.g.:
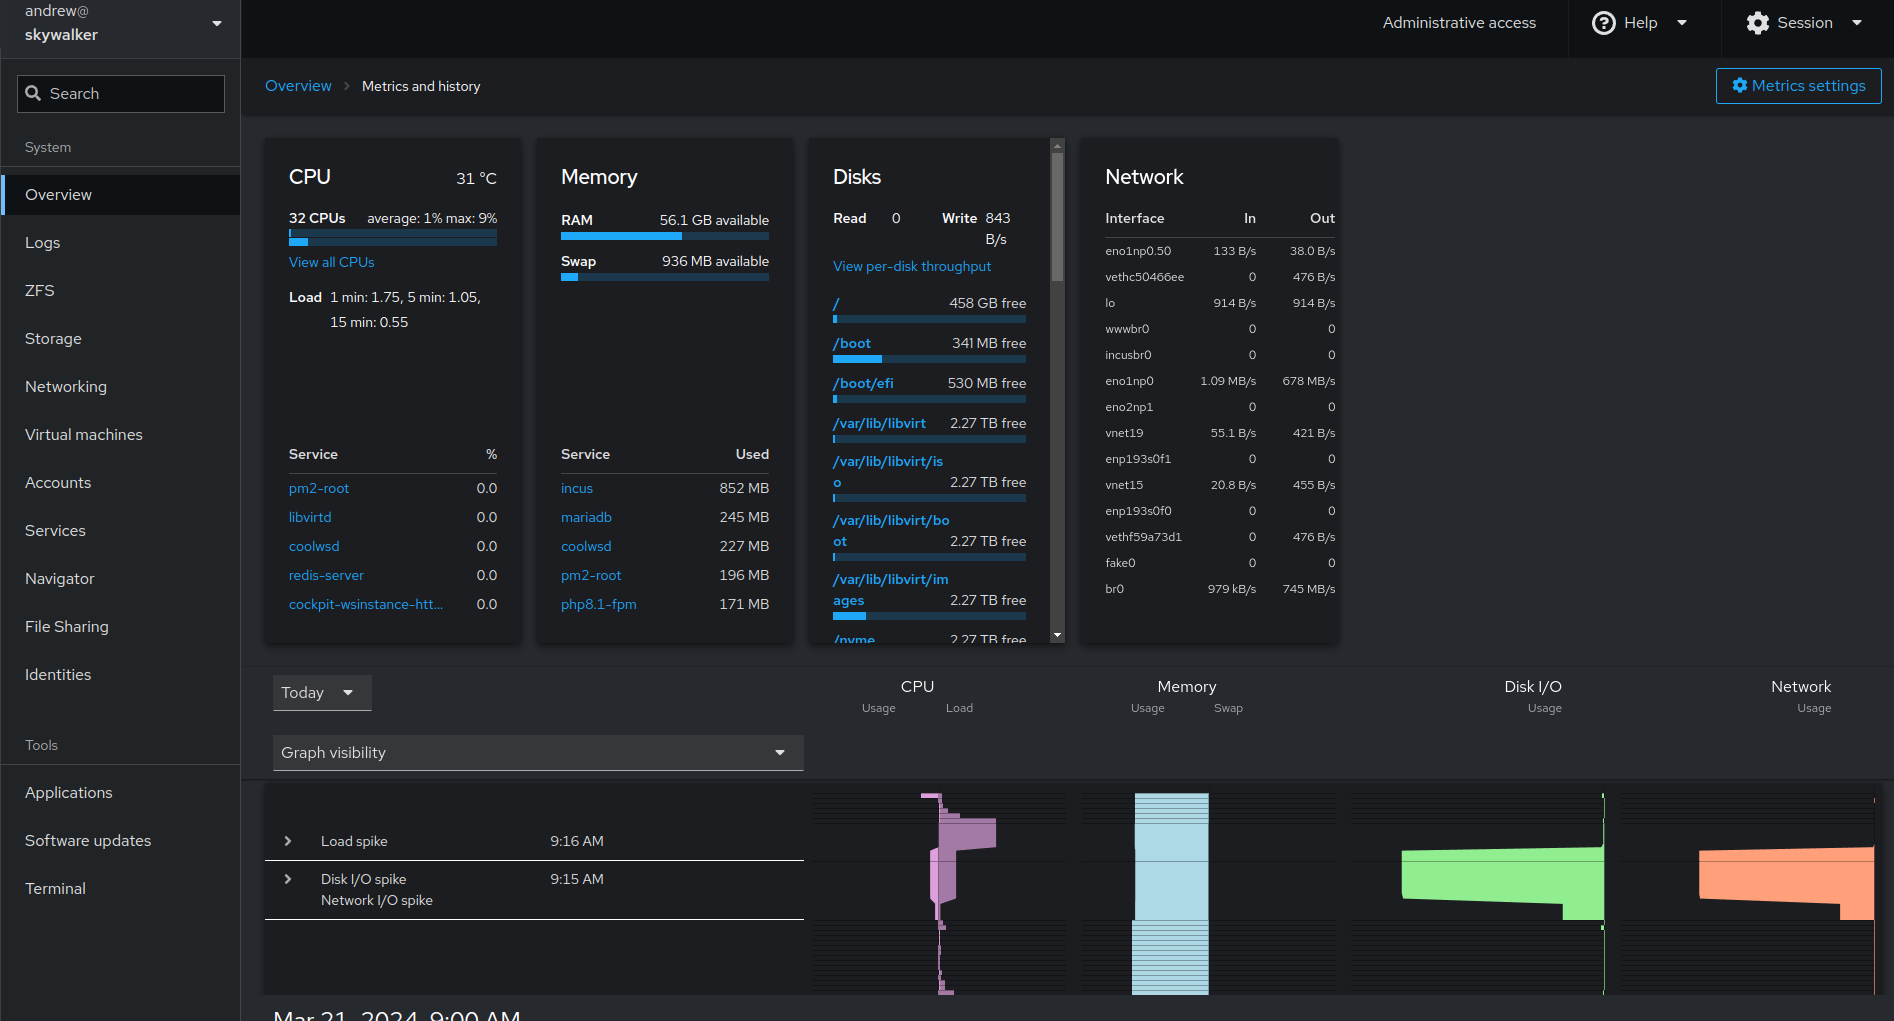
There you have it, 2FA cockpit enabled. This is now much more secure just as it should be for linux server access.
Bonus: for those who access their ssh servers over WAN (I don’t), you can add 2FA access to your ssh connections too. I have an article here that shows you how to do that “more conveniently” than the typical ssh-2FA implementations.
If this article is useful, please share it.
Andrew
